Tutorial Ubuntu 20.04 LTS : Cara Install Cacti Monitoring Tools

Cacti merupakan salah satu monitoring tools yang sering dan sangat banyak digunakan untuk melakukan monitoring system. Terutama untuk Monitoring System, Network Traffic, Network Device, Bandwidth, dan lain-lain. Kali ini kita akan melakukan instalasi Cacti Monitoring Tools pada Ubuntu Server 20.04 LTS.
Install
Sebelum melakukan instalasi terlebih dahulu lakukan update dan upgrade sistem.
Install MariaDB
Karena Cacti memerlukan mysql database maka kita harus menginstalnya, disini kita menggunakan mariadb database.
Lakukan instalasi mariadb menggunakan perintah berikut. Jangan lupa untuk melakukan set root password.
Install Cacti
Untuk memulai instalasi cacti dapat menggunakan perintah berikut.
Secara default cacti akan melakukan instalasi packet web server apache dan php. Maka jika muncul prompt berikut kita pilih apache2
Package configuration

   ┌─────────────────────────┤ Configuring cacti ├──────────────────────────┐
   │ Please select the web server for which Cacti should be automatically   │
   │ configured.                                                            │
   │                                                                        │
   │ Select "None" if you would like to configure the web server manually.  │
   │                                                                        │
   │ Web server:                                                            │
   │                                                                        │
   │                               apache2                                  │
   │                               lighttpd                                 │
   │                               None                                     │
   │                                                                        │
   │                                                                        │
   │                                 Ok                                     │
   │                                                                        │
   └────────────────────────────────────────────────────────────────────────┘
Configure Database Cacti, Pilih Yes.
Package configuration

    ┌───────────────────────────┤ Configuring cacti ├───────────────────────────┐
    │                                                                           │
    │ The cacti package must have a database installed and configured before    │
    │ it can be used. This can be optionally handled with dbconfig-common.      │
    │                                                                           │
    │ If you are an advanced database administrator and know that you want to   │
    │ perform this configuration manually, or if your database has already      │
    │ been installed and configured, you should refuse this option. Details on  │
    │ what needs to be done should most likely be provided in                   │
    │ /usr/share/doc/cacti.                                                     │
    │                                                                           │
    │ Otherwise, you should probably choose this option.                        │
    │                                                                           │
    │ Configure database for cacti with dbconfig-common?                        │
    │                                                                           │
    │                        Yes                       No                       │
    │                                                                           │
    └───────────────────────────────────────────────────────────────────────────┘
Buat password database untuk cacti.
Package configuration

    ┌────────────────────────┤ Configuring cacti ├────────────────────────┐
    │ Please provide a password for cacti to register with the database   │
    │ server. If left blank, a random password will be generated.         │
    │                                                                     │
    │ MySQL application password for cacti:                               │
    │                                                                     │
    │ *****______________________________________________________________ │
    │                                                                     │
    │                      Ok                      Cancel                 │
    │                                                                     │
    └─────────────────────────────────────────────────────────────────────┘
Konfirmasi password.
Package configuration

                      ┌────┤ Configuring cacti ├─────┐
                      │                              │
                      │                              │
                      │ Password confirmation:       │
                      │                              │
                      │ *****_______________________ │
                      │                              │
                      │         Ok         Cancel    │
                      │                              │
                      └──────────────────────────────┘
Tunggu proses instalasi hingga selesai.
Pengujian
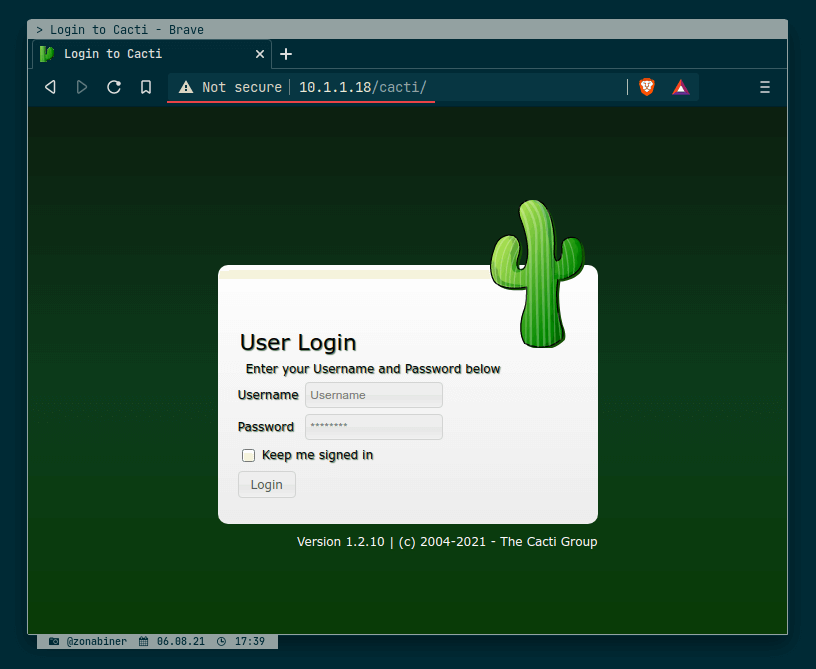
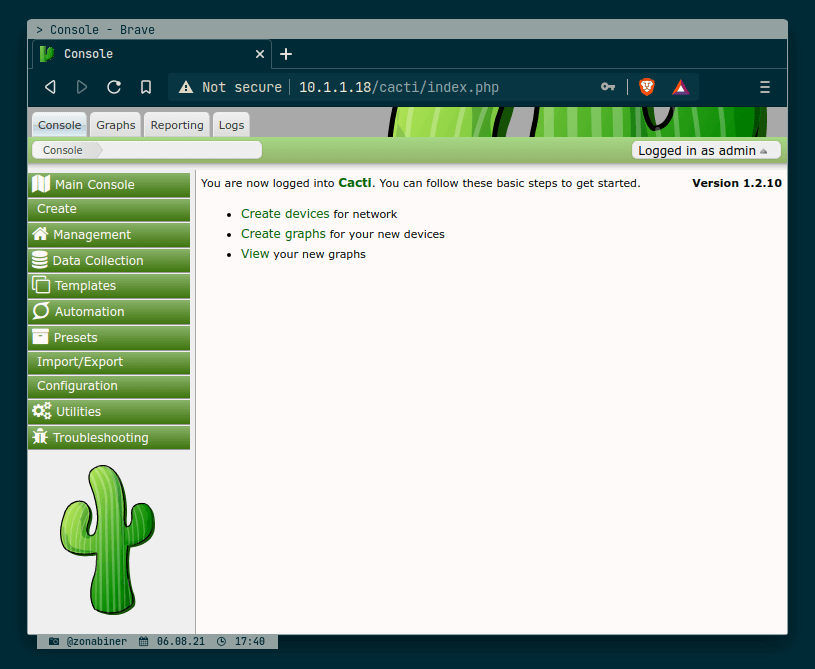
Setelah proses instalasi selesai kita dapat melakukan akses menuju dashboard cacti dengan cara melakukan akses http://ip-server/cacti. Untuk login default username adalah admin dan passwordnya adalah yang kita buat saat melakukan instalasi cacti tadi.

Cacti Dashboard

Sampai disini kita sudah berhasil melakukan instalasi Cacti Monitoring Tools pada Ubuntu Server 20.04 LTS dan tentunya siap untuk dikonfigurasi. Happy Config!! 😉


